Saturday, March 31, 2012
Defeat
admitting defeat for the night... powers up but I cant get connection to the computer. I cant seem to get the drivers to install
Friday, March 30, 2012
Power!
Gave her some power (with a hot wired ATX power supply) will have more details later... high pitch whiney noise from the steppers.... apparently too much current, need to turn the trim pots down...
Wiring [almost] Done

The top down view with extra wiring bundled on the acrylic mounting plate for the circuit board

Front view, tried to bundle wires in the neatest way possible. Lots of wires to the circuit board made it tricky and hard to really hide them.
Ink (ABS filament)

Sorry the picture is a little dark... But here is the filament I ordered!
I ordered it from ebay. I purchased 1.2kg(2.64lbs) of 3mm ABS filament in bright orange. I thought the price was really good but forgot to look at the shipping cost. Shipping was $30!!! Because it came from a foreign country it took a while to get it through the post office. They wouldn't deliver to the apt. and I couldnt make it to the PO during business hours but I caught the postman as he was leaving the building and he went back in and got it for me after-hours. All in all it cost me $62 which is still reasonable since I figured $30/lb and it ended up only being $23.50/lb. They even included a little of their green filament!
Monday, March 26, 2012
Electronics
In process of attaching electronics and running the wires.... no picture yet, once I get things in place I will be sure to upload a picture. Put in 2 hours for the night!
Thursday, March 22, 2012
Getting Close!

Hot End Parts

Hot End Assembled

Table attached (not the heat bed yet) and all axis complete, hot end mounted!! 10hrs of build time (might be 11 I forgot)
Wednesday, March 21, 2012
Attaching the X
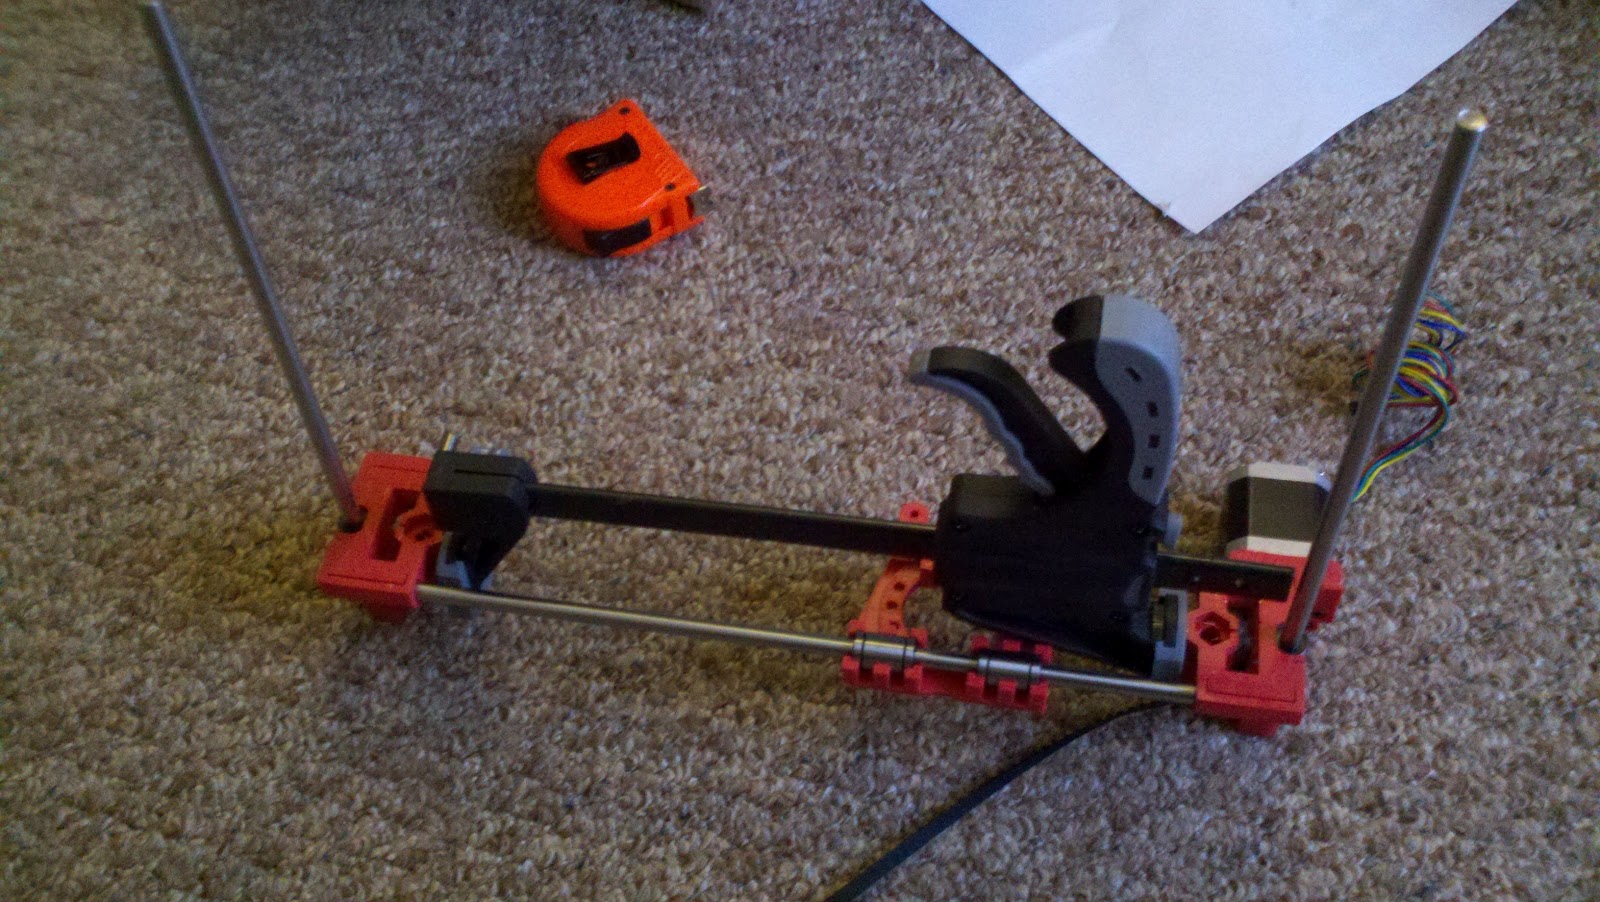
So I ran into a problem when mounting the X-axis. I didnt have it properly spaced! The directions didn't say how far to space it so I completely looked over it. Thankfully I have a nice clamp that doubles as a spreader. Another problem that I had was the spacing for the Z-motor mounts. If using metric you need to add an extra set of washers to both sides to compensate for metric nuts being thinner than SAE nuts.

X-axis being mounted on Z-axis. My water glass is holding it up right now and I am so thirsty! Wish I had a straw :)
Monday, March 19, 2012
Extrude Head

Since I need to wait on a new Z motor mount I switched gears tonight and did the extruder head.

The "Gregs Accessible Extruder" inner workings

Completed, a quick 35 minute build.
Sunday, March 18, 2012

Y Axis Complete

Y-Axis complete! Motor attached, stage attached, and belt in place. Done for a few hours.

Saturday, March 17, 2012
Excellent Customer Service


Basic Framing

Basic frame taking shape after 3hrs 10 minutes of total work. Note that I might be slower since I am taking time to make sure the adjustment lengths are within 1/32 of an inch
Front Supports

Got the front assembled! For those that dont know, keep in mind that with any of the build pictures any parts in red were printed on a 3d printer.
Friday, March 16, 2012

Cut Rods!
So here we are again.. I got my rods all cut today according to the lengths on MakerFarm. I made sure to error on the long side (+.125"/-0). Not sure if this will have any affect on the build yet. But I will soon find out!

Im excited to start putting pieces together! This is going to be an awesome weekend with St Pattys day included. [I will not be mixing festivities with building ;) ]
Thursday, March 15, 2012
Orders

I decided to go with a kit since I was affraid I would be leaving parts out left and right. Or either that buy incompatable things. I was mostly worried about forgetting the various plastic parts not knowing what was what. MakerFarms Prusa kit was also V2.0 so it had some updates that improve on the original V1.0.. The kits and materials needed for a V2 are a little elusive as nont many people have published what exactly is needed. I decided to go with metric since most people who build these use metric and though there would be more support if needed.
Makerfarm also has great directions on how to assemble different portions if you do decide to source your materials from all over. I purchased the kit on March 7th and it arrived on the 12th. ($455.75 with shipping) This included all the plastic parts, the extrude head, gen6 electronics, heatbed. Basically everything but rods, motors, and power supply
I also purchased 5 stepper motors prewired at Ultimachine on 3/7 that arrived 3/14 ($118.16 with shipping) It came with 2 samples of their PLA plastic too!


I plan on making the cuts tomorrow. Hopefully they turn out nice!
Reprap Selection
 .
. .
.I began searching through all the reprap models. The website isnt exactly the best but it wasnt too hard to follow. RepRap is completely open source, it has all of its plans online (unlike the others where you had to buy a kit) and all of the software is free. Not to mention the RepRap forums which are full of other users comments, questions, and suggestions! I was thinking this is definitely for me. It looked like Prusa was going to be the perfect model for me. The size and price were fairly reasonable (if sourcing out all the parts instead of buying kits it can be near $600). So began my search for things on the Bill of Materials!
I quickly discovered that parts of the BOM were hard to find parts for, or they werent very clear what they were. McMasterCarr was a great resource for pricing out the Vitamins (nuts, bolts, and any hardware necessary). One problem... buy 100 nuts if I only needed 20? I could sell the leftovers but how likely is that? I turned to ebay for built units and kits. Ebay ended up being a disaster of over bidders and high shipping costs. Thats when I decided MakerFarm would be my choice.
Broad Initial Selections
I began my research by taking into consideration what I was truely looking for. Different models had different build envelopes, different filament sizes, different accuracy, and different layer thickness. As more research continued I realized the cheapest models for makerbot were around $1000 if you were lucky enough to find one.
Models and thoughts about them
Makerbot in general all models seem to have great resolution and control. The website blows if you are trying to find specific parts. They dont have all the parts available all the time. There is no clear list of what you need to buy. If it was all centrally located it would be way easier.
Makerbot Cupcake-(bottom left in picture)this model was very small. It is now very hard to find parts for as it is obsolete from Makerbot . Some used ones were available on ebay, but in high demand
Makerbot Thingomatic- (top right in picture)little bigger than the cupcake but still hard to get parts for. Seemed very similar except for size.
Makerbot Replicator- (bottom right in picture) huge build envelope. Great resolution and layer thickness, cost wayyyyy to high for me.
I decided next to go with the book Printing in Plastic. This is to build a White Ant printer (really just a different reprap). The directions in the book are great. The only problem? it is built out of very precise cut wood. The blue prints are terrible as they are ment to be stencils. This would only be feasible if you had an at home CNC router in my opinion! [maybe a future build for me ;)]
I had learned a little about reprap printers in my 3d printing class. I knew that the resolution and control werent the best as the units tend to be a little crude. After thoroughly investgating Reprap I discovered that it was looking like I could get under $1000!
3D printer selection

A few years ago I took a class at college where we got to use a 3D printer. My main hobby is definitely model railroading. But in taking this class my desire to make custom supplies for my model railroad greatly grew. I had been putting it off due to the expense. I finally had enough set aside to decide to make a build. The question was... what would be feasible?
I did weeks of research into Reprap, all the makerbot models, and even bought a great book called "Printing in Plastic" (which just shows you how to make a different version of something similar to the reprap models. I thought that this would be the cheapest since i would be making most of the frame out of wood.
Background
This Blog is to help document the various hobbys that I enjoy. I like to use creativity to create different things I imagine. My goal is to show you what can be done and to spark ideas within your own creativity.
Subscribe to:
Comments (Atom)